Nov 4, 2026
AI Filmmaking
How to Make Your AI Videos Look Cinematic
Four techniques pro AI filmmakers use to make generations look cinematic: color palette, motivated lighting, shot sizes and camera moves, with the prompts to copy for each.
A man in a green suit and floral shirt smoking a cigar in an old office, backlit by bright green-tinted windows

You type a prompt, hit generate, and expect a cinematic masterpiece. What you get is that generic, plastic-looking AI slop, and a few more credits gone.

The problem usually isn't the model. Most prompts only describe what happens, and say nothing about how it should look. Real filmmakers decide the color, the lighting, the shot size and how the camera moves, and once you add those to your prompts, the difference is massive. You don't need to be a pro cinematographer, just a few basic concepts.

Here are some techniques pro AI filmmakers use when generating their videos. Try these out!

1. Change the palette, change the feeling

Same room, different mood. Warm tones feel cozy and hopeful; cold, desaturated tones feel tense or lonely. Only the color keywords change.

Cold, desaturated
Warm, golden hour
The same locker room prompt with two different color palettes.

Warm, golden hour

Create a college basketball locker room, with window on the side, sunlight shining through, soft bloom. Warm golden tones, soft amber highlights, cozy atmosphere, golden-hour color palette. Three quarter angle view, wide shot. No characters in image.

Cold, desaturated

Create a college basketball locker room, with window on the side, cold blue tones, desaturated colors, steel-blue shadows, or muted cyan color palette. Three quarter angle view, wide shot. No characters in image.

2. Light it like a film

Lighting is what makes a shot feel cinematic. Light from one clear source, like a window or blinds, shapes the face and separates your subject from the background. Say where the light comes from and what stays in shadow.
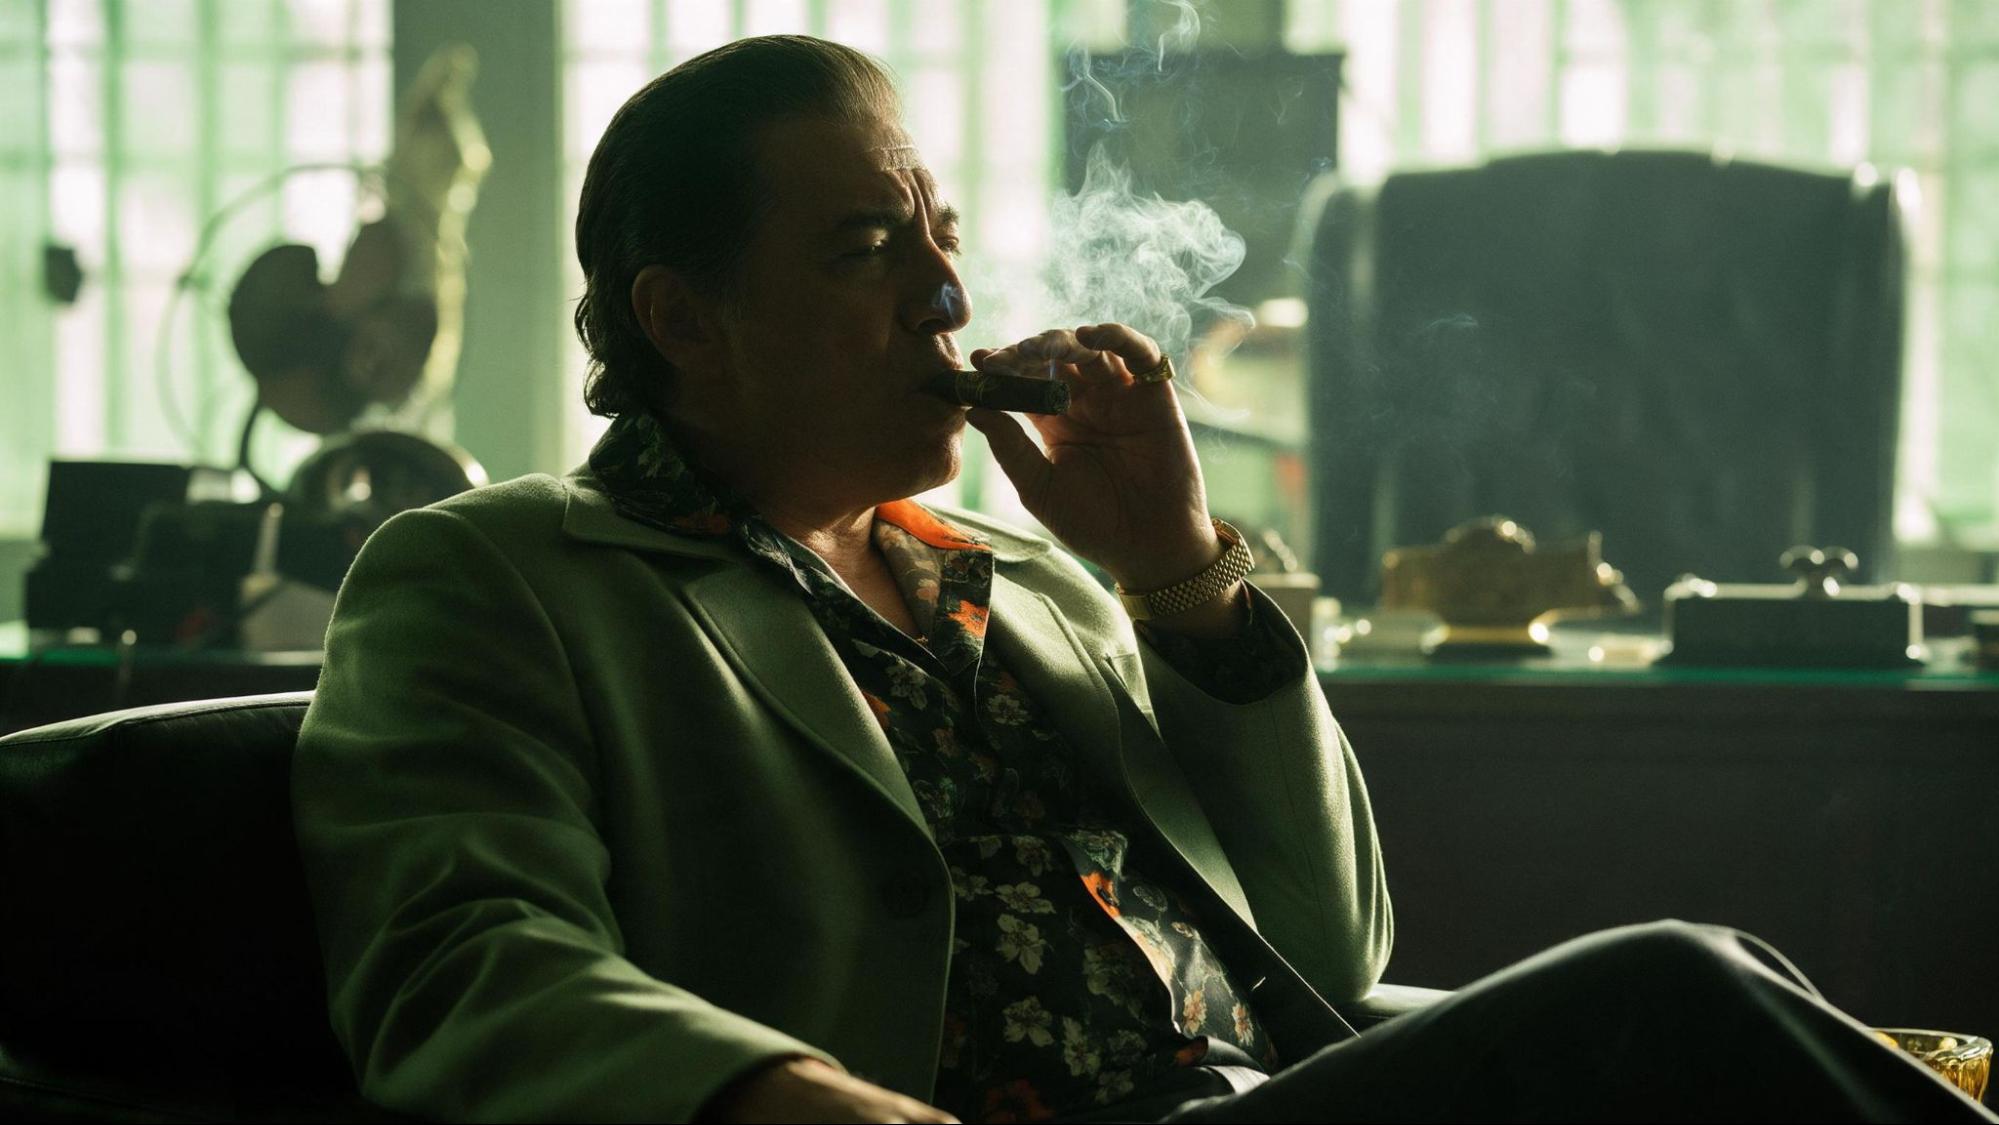
A man in a green suit smoking a cigar in an armchair, his face in shadow against bright green-tinted windows
A man in his 60s with slicked-back hair, wearing a green suit and a floral shirt, sits in an armchair in an old office, smoking a cigar. Bright green-tinted windows behind him are the only light source. Strong backlight, cigar smoke catching the light, his face in soft shadow, his silhouette clearly separated from the bright background. Cinematic, natural shadow falloff.
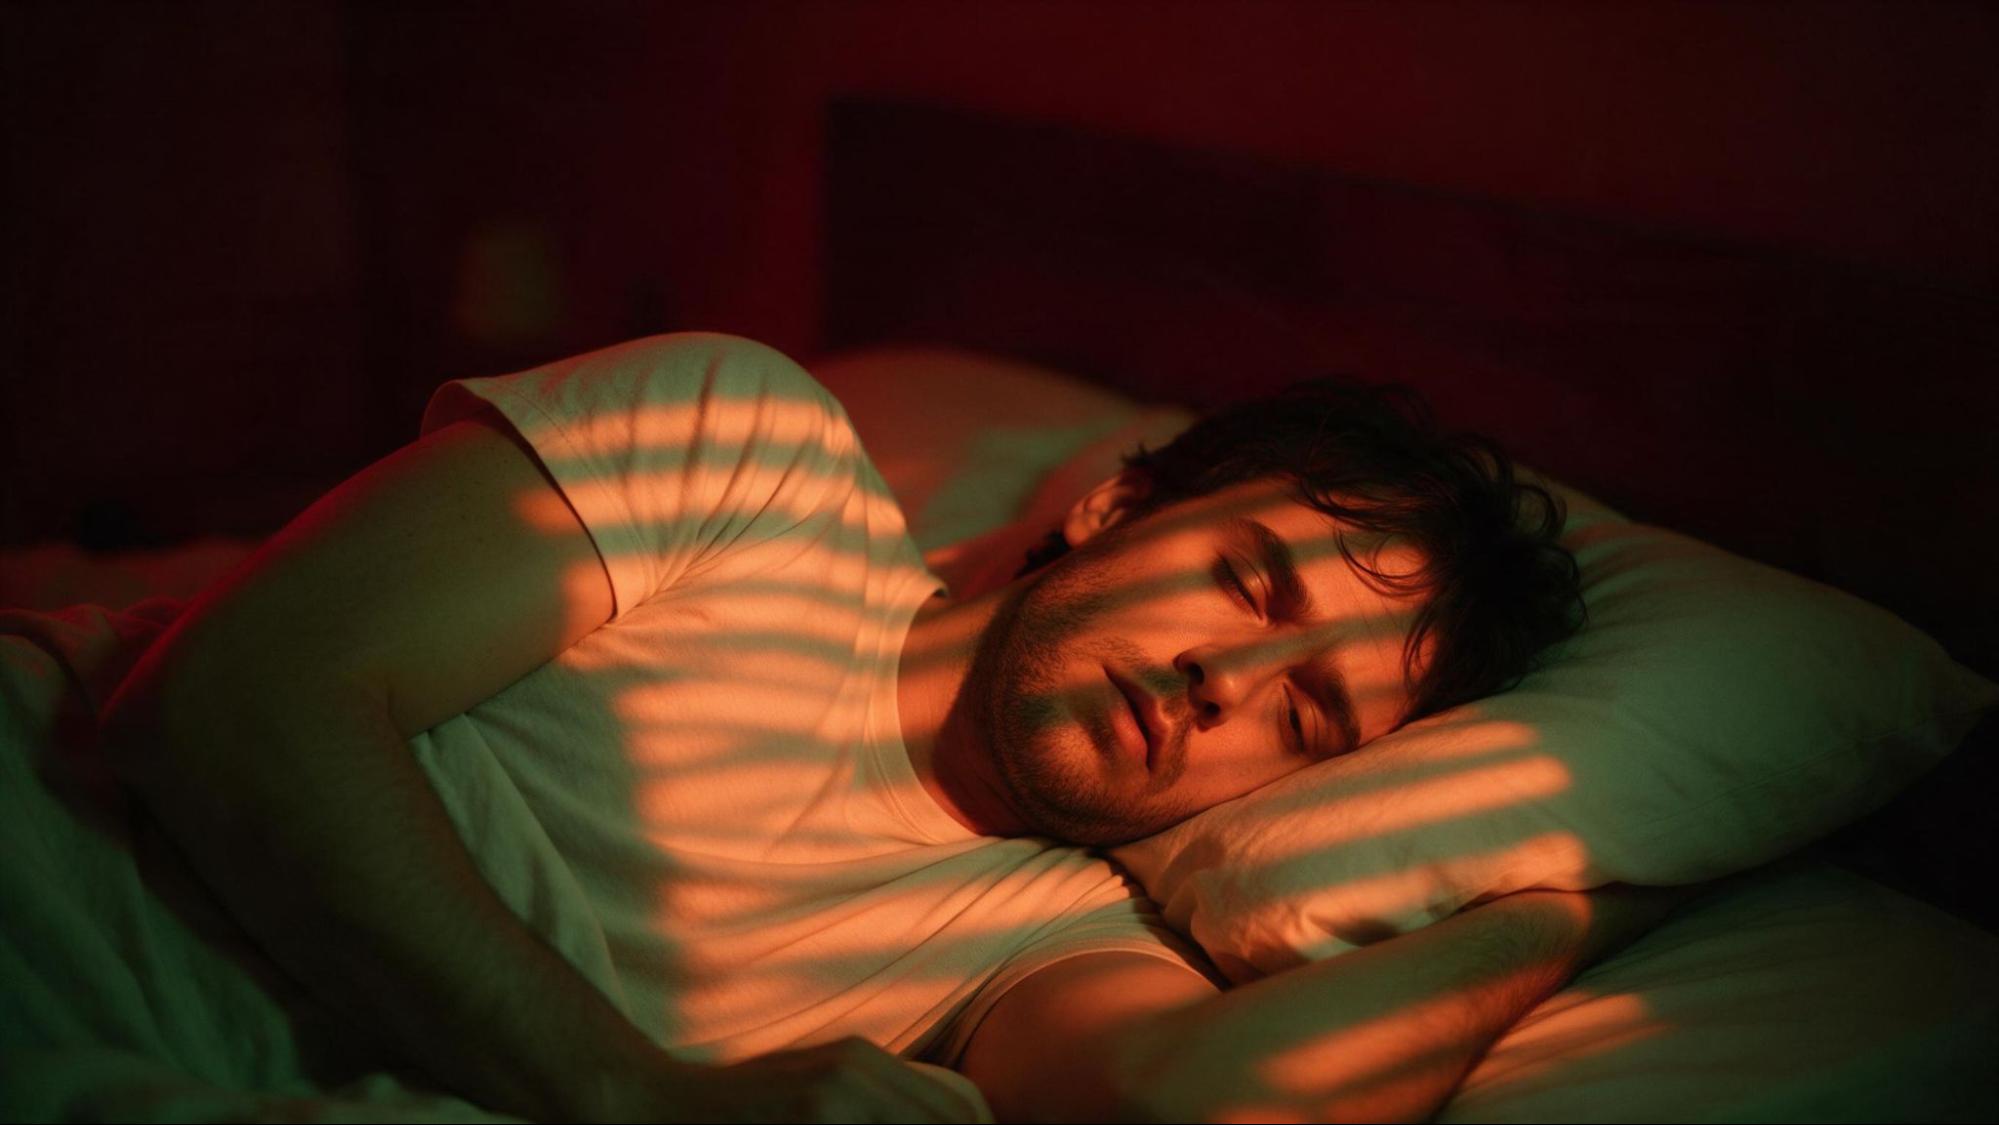
A man asleep on his side in a dark red bedroom, orange light through window blinds striping his face and pillow
A man sleeping on his side in bed, in a dark bedroom at night. Warm orange light falls through window blinds, casting striped shadows across his face, pillow and shirt. The rest of the room stays in deep red shadow. Cinematic, motivated lighting, natural shadow falloff.
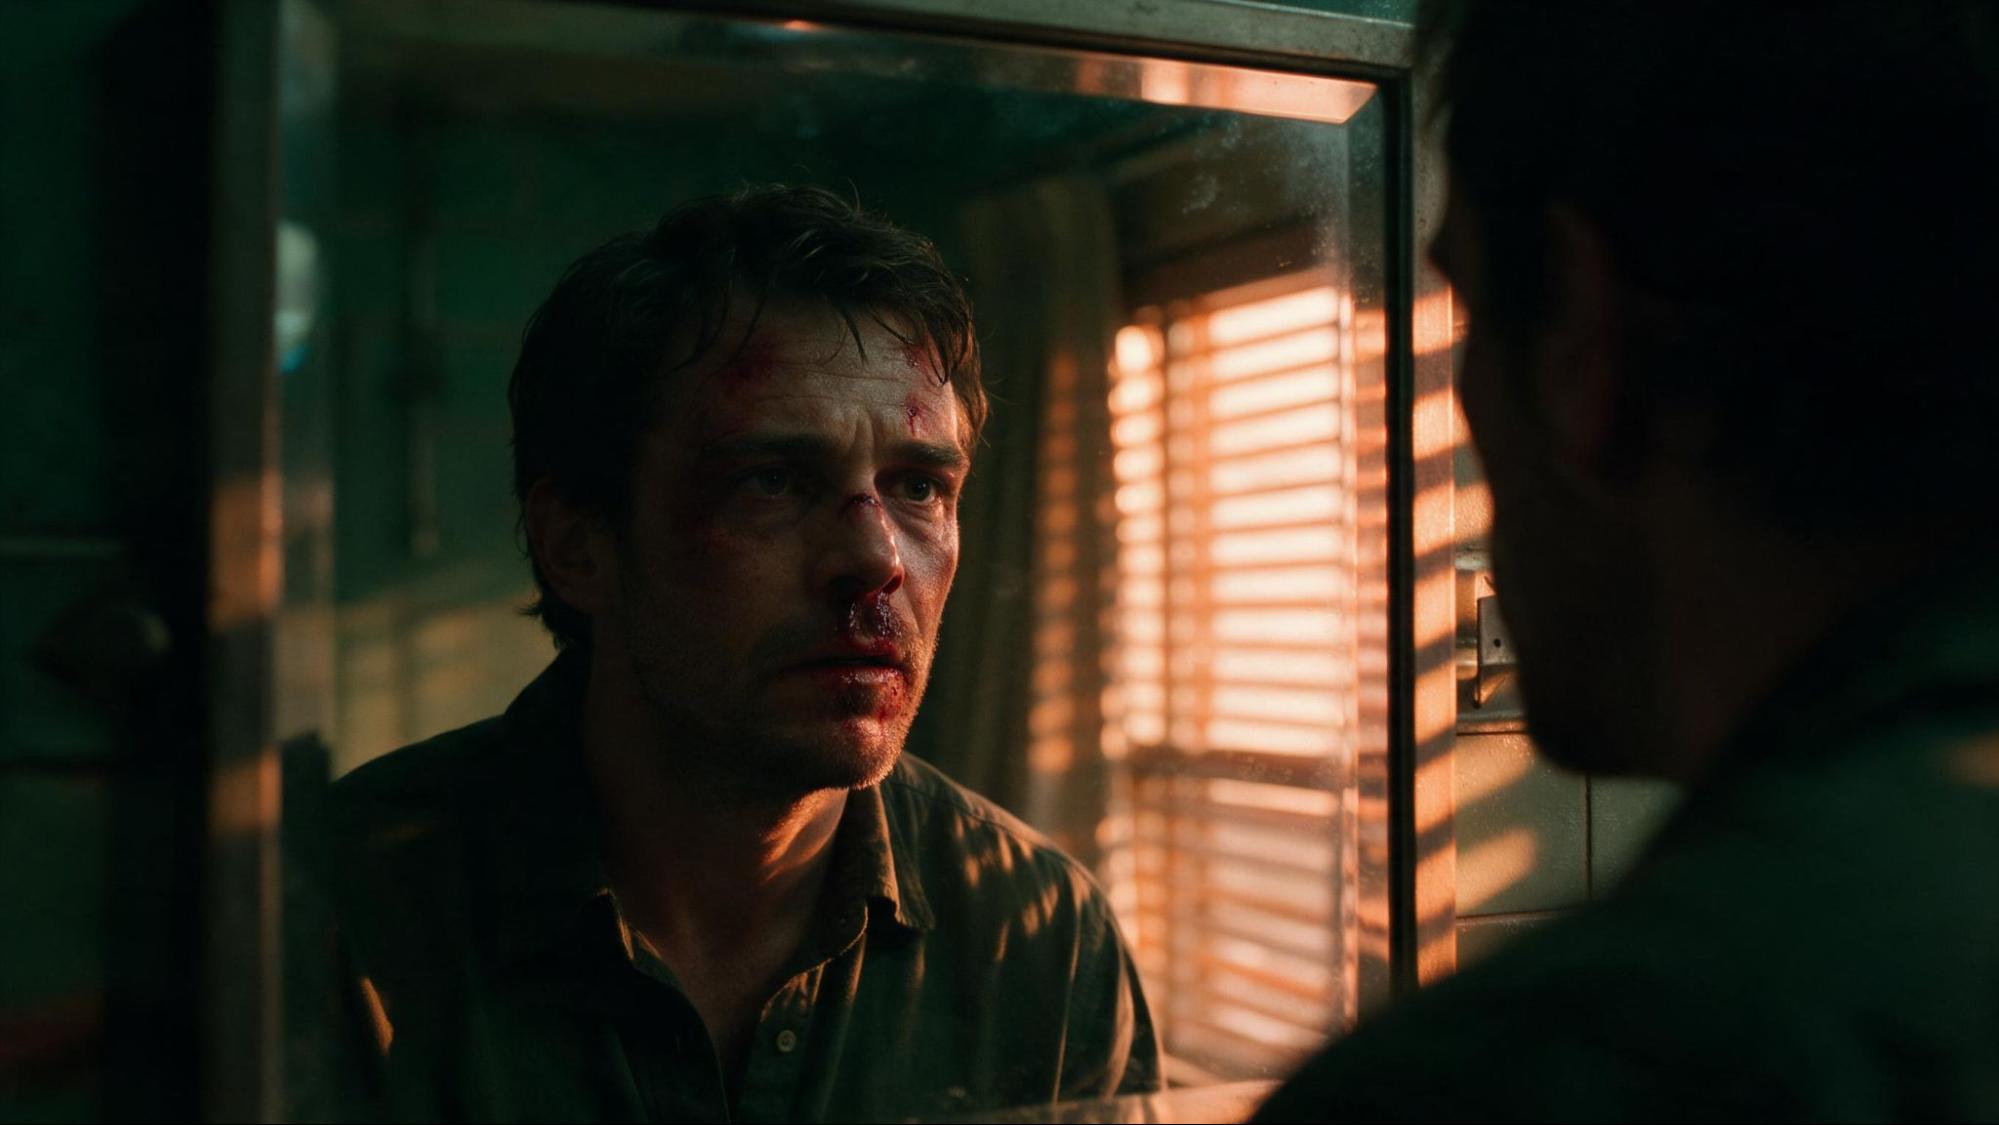
Over the shoulder of a bruised man looking into a bathroom mirror, sunlight through blinds lighting half his face
A bruised man with a bloody nose stares at himself in a bathroom mirror, seen over his shoulder. Warm late-afternoon sun comes through window blinds behind him, striping the wall and lighting half his face. The rest of the bathroom stays in dark green shadow. Cinematic, motivated lighting, soft highlight roll-off.

Add this line to any prompt to keep faces from coming out flat and over-lit:

avoid overly bright faces, no flat frontal lighting, natural shadow falloff, motivated lighting, soft highlight roll-off, and avoid beauty lighting.

3. Mix your shot sizes

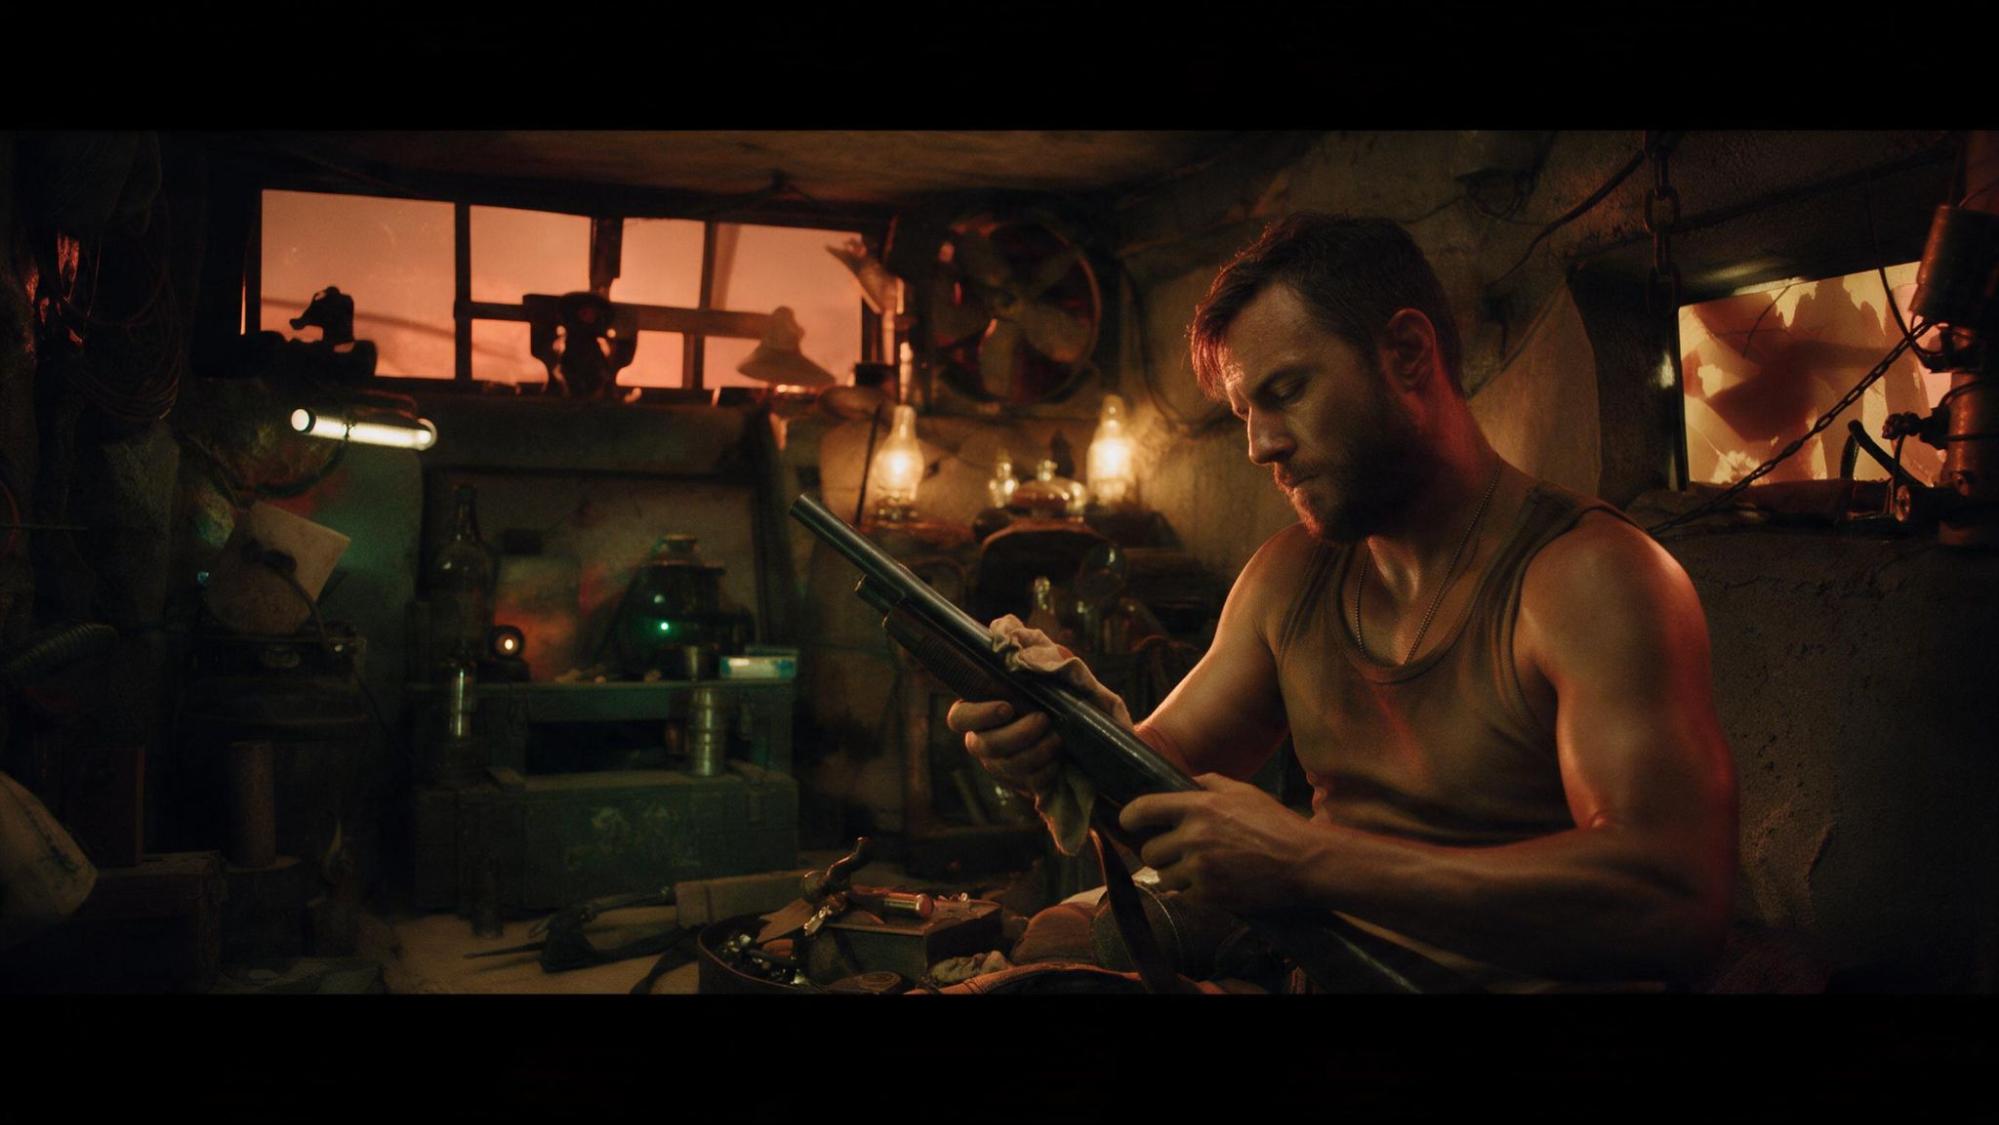
Most scenes are built from three sizes. Combining them is what makes a scene interesting, and an extreme close-up on everything gets old fast. Add one of these lines to your prompt:
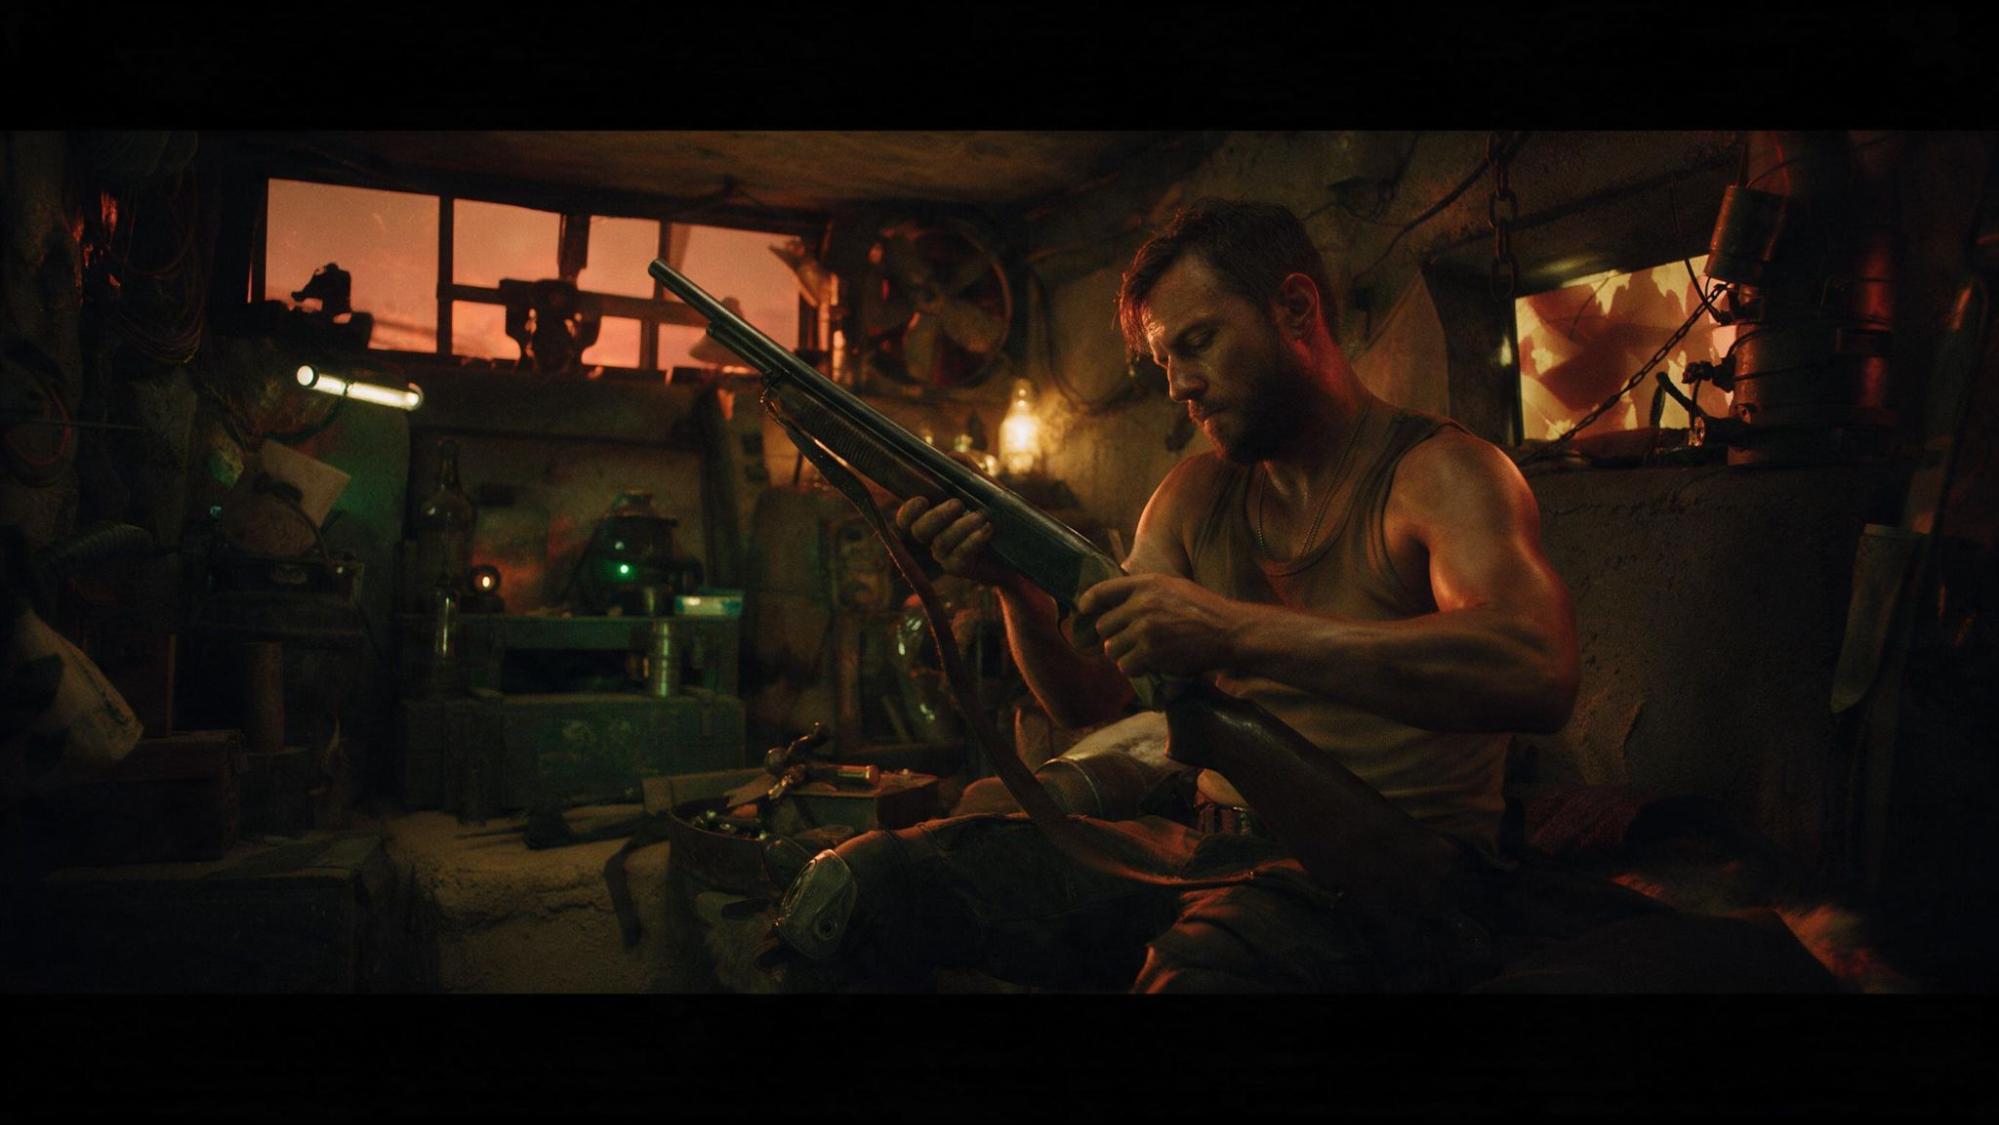
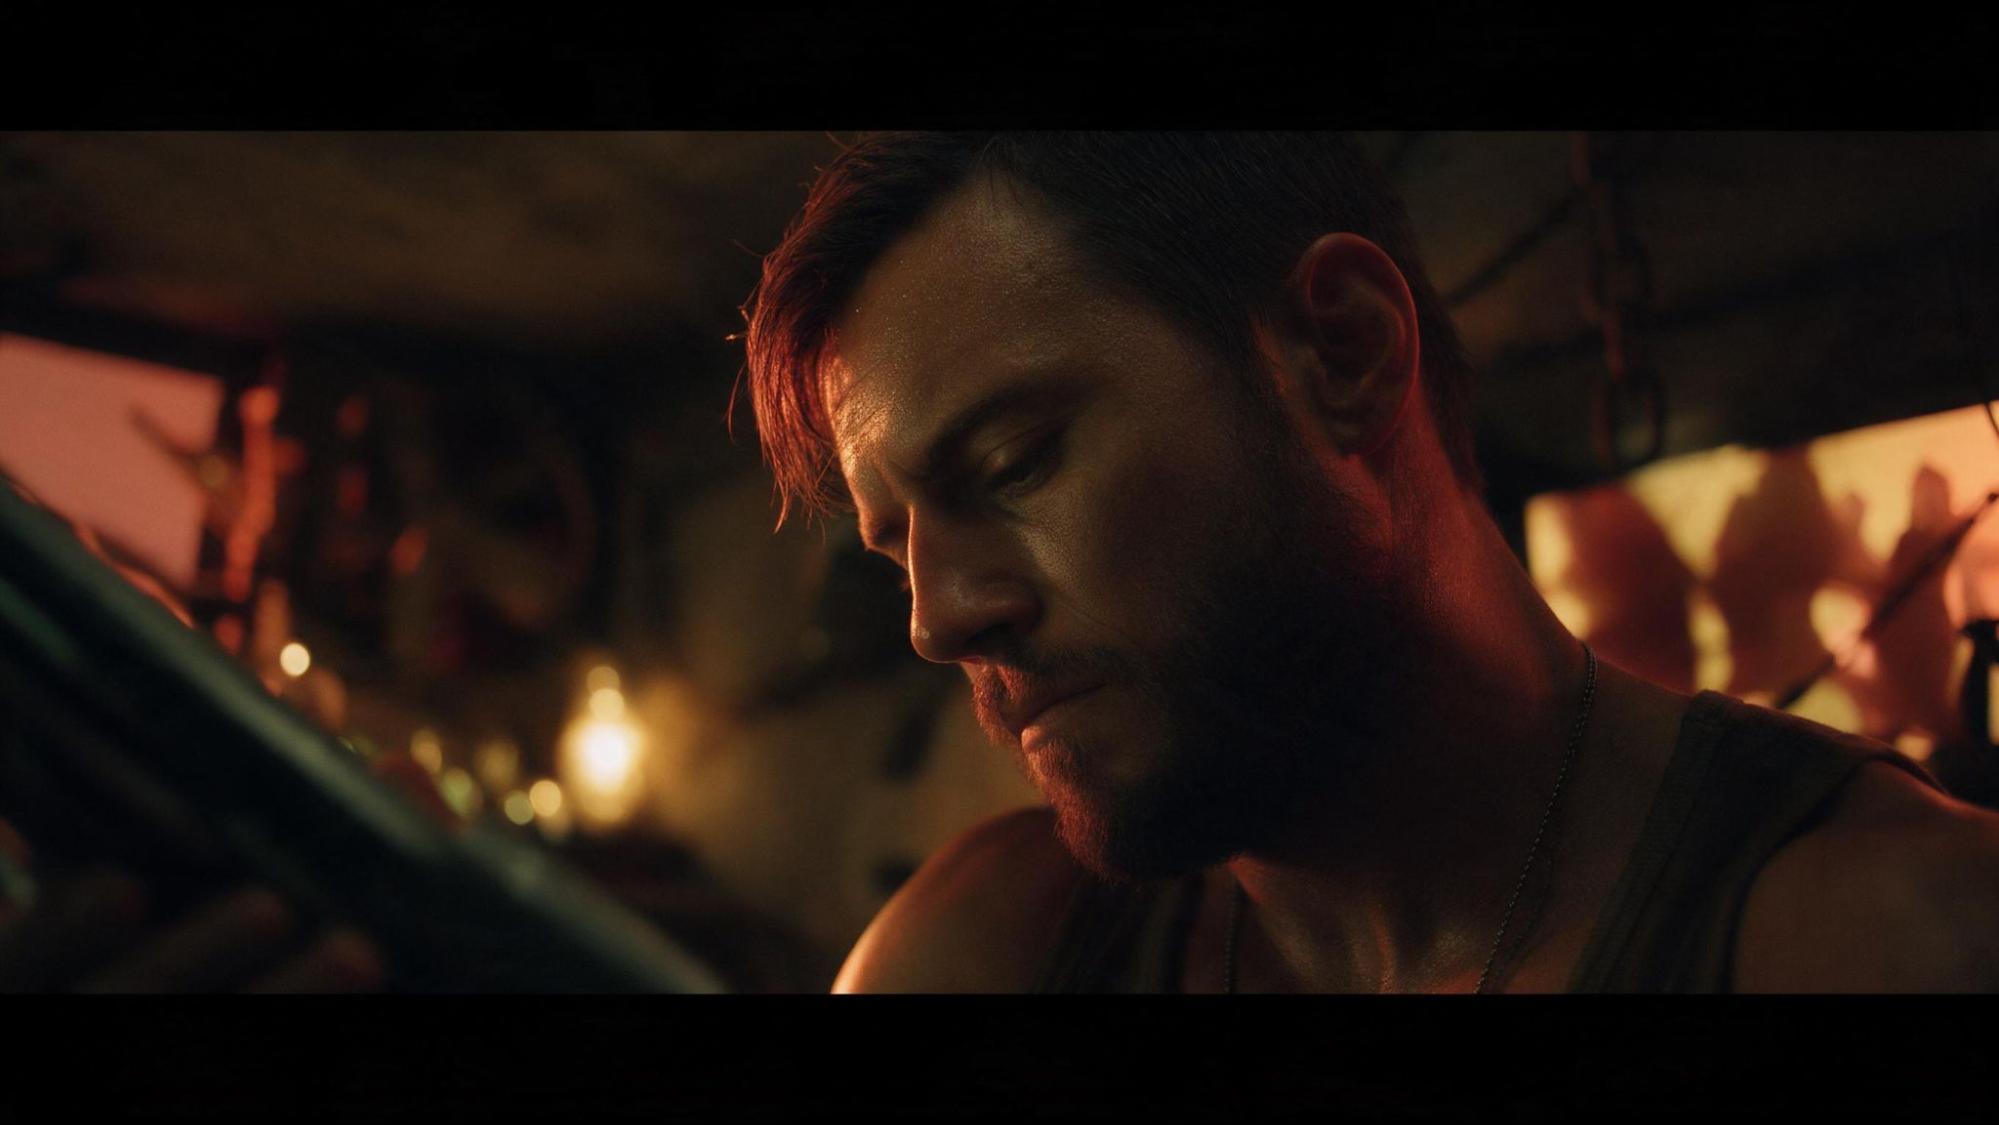
Wide shot of a man cleaning a shotgun in a cramped bunker, the whole room visible around him
Wide shot, the full room visible, establishing where they are.
Medium shot of the same man from the waist up, inspecting the shotgun
Medium shot, framed from the waist up, close enough to follow the action.
Close-up of the man's face, the bunker blurred behind him
Close-up on the character's face, shallow depth of field, focused on their emotion.

A simple order that always works: wide to set the place, medium for the action, close-up for the reaction.

4. Control the camera

Tell the camera how to move. A dolly in pulls the audience toward something important or slowly builds tension. A dolly out does the opposite and leaves the character small in the frame.

Dolly in: the camera moves from the locker room toward his face.
0:00/0:00
Dolly in: the camera moves from the locker room toward his face.
Slow dolly in toward the character's face, the camera physically moving closer, steady and smooth.
Dolly out: the camera pulls back and reveals more of the room around him.
0:00/0:00
Dolly out: the camera pulls back and reveals more of the room around him.
Slow dolly out away from the character, revealing more of the room around them, steady and smooth.

Put it all together

Stack the pieces into one prompt: what happens, the shot size, the camera move, the color and the lighting.

Generate a scene of @Image1 [what happens], [shot size], [camera move]. [Color keywords]. avoid overly bright faces, no flat frontal lighting, natural shadow falloff, motivated lighting, soft highlight roll-off, and avoid beauty lighting.

Now it's your turn

That's everything from the video: color, lighting, shot sizes and camera control. None of it needs a film degree, just a few deliberate choices in your prompt.

Pick one idea, try it on your next generation and see the difference for yourself. Then stack the rest and go make something cinematic.

Have fun creating.

Ready to make it cinematic?

Open Yapper Assistant, describe your scene, and add the color, lighting, shot size and camera move.