
Creating an anime scene with AI is no longer just about generating a few attractive images. If you want the finished video to feel consistent, cinematic, and intentional, you need a production workflow.
In this guide, I’ll walk you through the process I used to create the AI football anime above—from the first story idea to the final edit. You’ll also find copyable prompts throughout the article, so you can adapt the same workflow to your own project in Yapper.
For this project, I imagined a fictional final between Argentina and Spain. The concept was inspired by the well-known childhood photograph of Lionel Messi with Lamine Yamal: almost 20 years later, they meet again—not for a photograph, but as opponents fighting for the final goal. Julián Álvarez and Pedri appear as supporting characters.


If you use real people as creative references, make sure your use follows the generation platform’s policies and any applicable likeness or publicity rights.
The workflow has three stages:
- Pre-production: Write the story and build reusable references.
- Clip generation: Turn the script into short, controllable shots.
- Post-production: Select the best moments, repair continuity, and shape the final sequence.
Part 1: Pre-Production
Pre-production is where you prepare everything the AI will need later:
- The story and script
- Character designs and element sheets
- Location references
- Recurring props
- Uniforms and other continuity details
- The overall visual language
Spending more time here usually saves both time and generation credits later.
Step 1: Develop the Story
You do not need to begin with a perfectly formatted screenplay. Start by explaining:
- Who the characters are
- What happens in the scene
- What the central conflict is
- How the scene should end
- What the audience should feel
Yapper Assistant can turn those ingredients into a structured script that is easier to divide into shots.
Prompt: Turn a Story Idea Into an Anime Script
For my project, I gave the assistant only the Messi-versus-Yamal premise. It organized the idea into a complete sequence that I could later divide into individual clips.
Once your script is ready, save it. You will return to it during video generation.
Step 2: Create the Main Character Designs
This project has four important characters:
- Lionel Messi
- Lamine Yamal
- Julián Álvarez
- Pedri
Start with one clear reference image for each character. A useful reference should have good lighting, a clear face and hairstyle, recognizable clothing, minimal obstruction, and a camera angle that reveals the character’s proportions.
Prompt: Turn a Reference Photo Into an Original Anime Character
Generate several versions before choosing one. Check each result for:
- Facial resemblance
- Accurate hair and clothing
- A consistent visual style
- Reusable body proportions
- Clear details that will survive different poses and camera angles
Image generation is usually less expensive than video generation, so this is the best stage for exploration. A strong character reference improves almost every shot that follows.
Step 3: Build an Element Sheet
A single portrait gives the model only one view. Later, you may need to show the same character from the front, side, back, or a three-quarter angle.
An element sheet provides those views in one reusable reference. It gives the model more information about the face, hairstyle, clothing, silhouette, and body proportions, which makes continuity easier to maintain.
Open the Element Sheet Generator, add your chosen character image, and create an element sheet for every recurring character.
Do not skip this step. Element sheets are among the most useful assets in a character-consistency workflow.
Step 4: Match Every Character to the Same Style
Once the first character is finished, use that design as the style anchor for the rest of the cast.
For example, when creating Yamal, I used:
- A real photograph of Yamal as the identity reference
- The finished Messi anime design as the style reference
The photograph tells the model who the character should resemble. The finished design tells it how the new character should be drawn.
Prompt: Match a Second Character to the Established Style
Repeat this process for every important character.
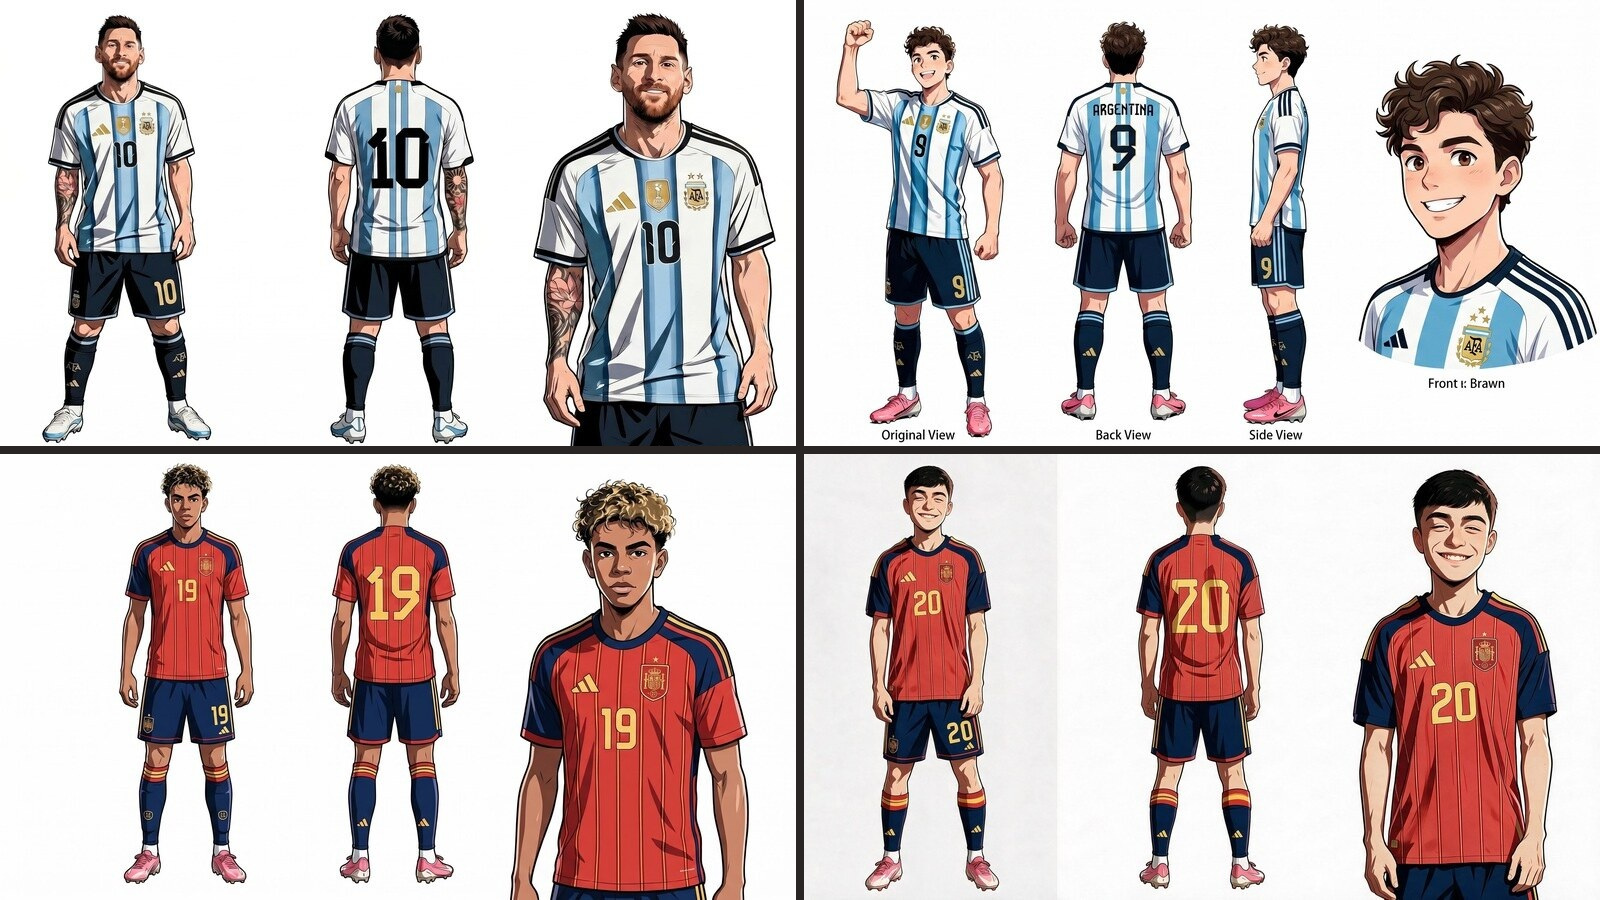
Step 5: Make the Uniforms Consistent
My first character set used several different versions of the national-team uniforms because the source photographs came from different seasons. Those differences became obvious as soon as the characters appeared together.
I used the finished Messi design as the outfit reference for Álvarez, and the finished Yamal design as the outfit reference for Pedri. That gave the Argentina players one shared uniform and the Spain players another.
Prompt: Replace Only the Uniform
Step 6: Create the Location
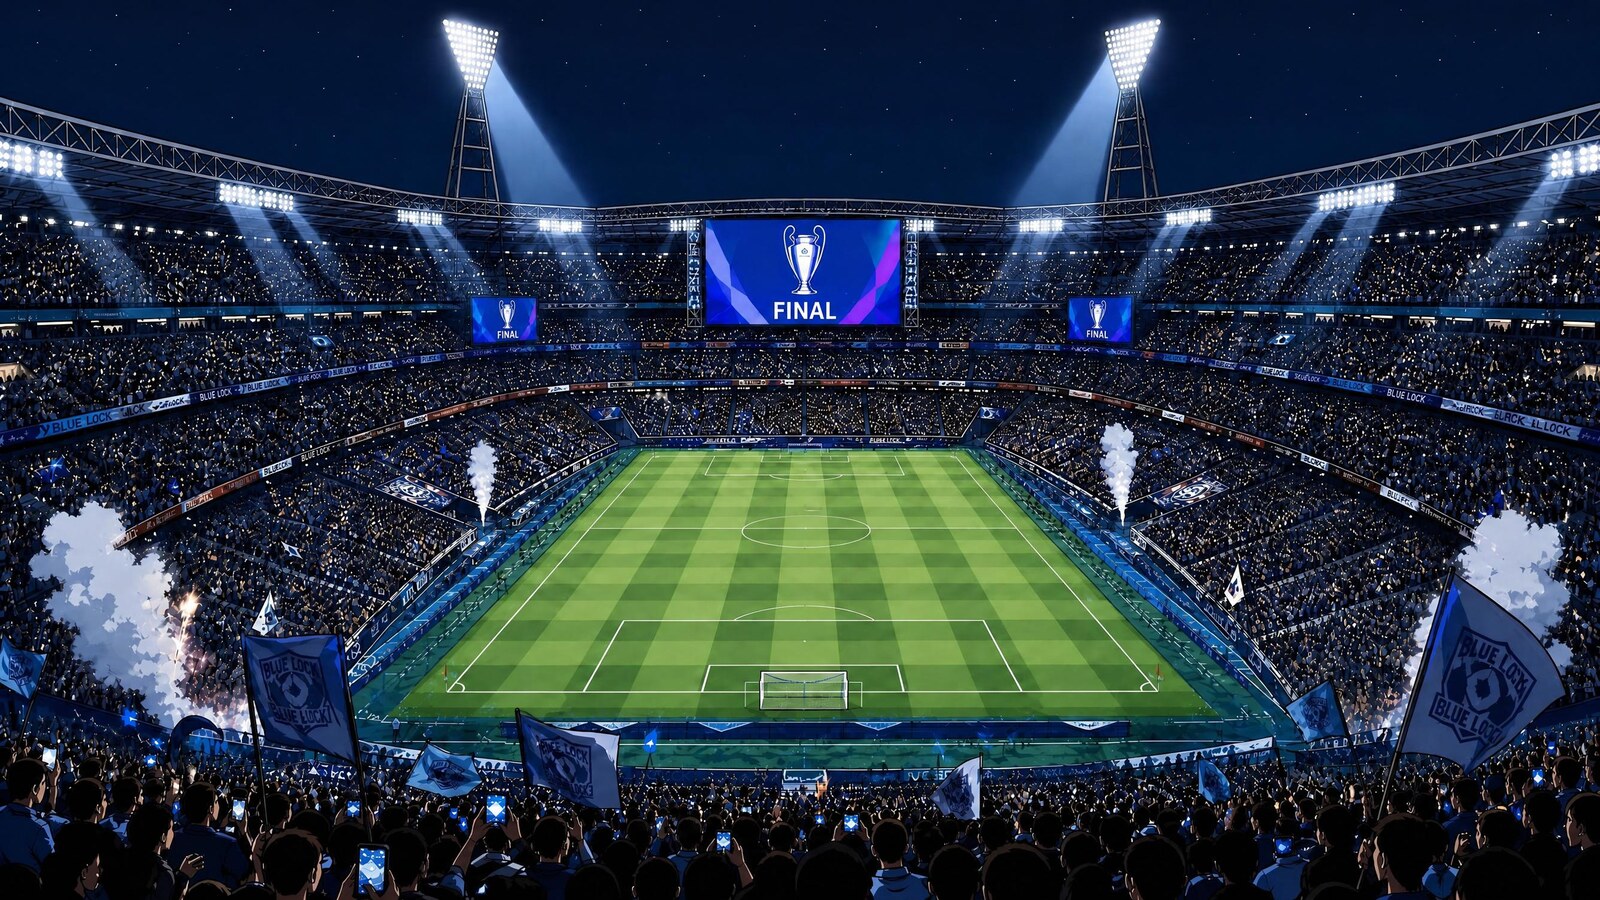
The story takes place inside a huge football stadium at night. For a reusable location reference, create a wide establishing shot rather than a close-up.
A wide image gives the model information about the pitch, stands, stadium architecture, lighting, screens, tunnels, crowd placement, scale, and the spatial relationship between different areas.
Prompt: Generate an Anime Football Stadium
Step 7: Prepare Recurring Props
Props are easy to overlook. Most creators focus on characters and backgrounds, but recurring objects can drift between shots too.
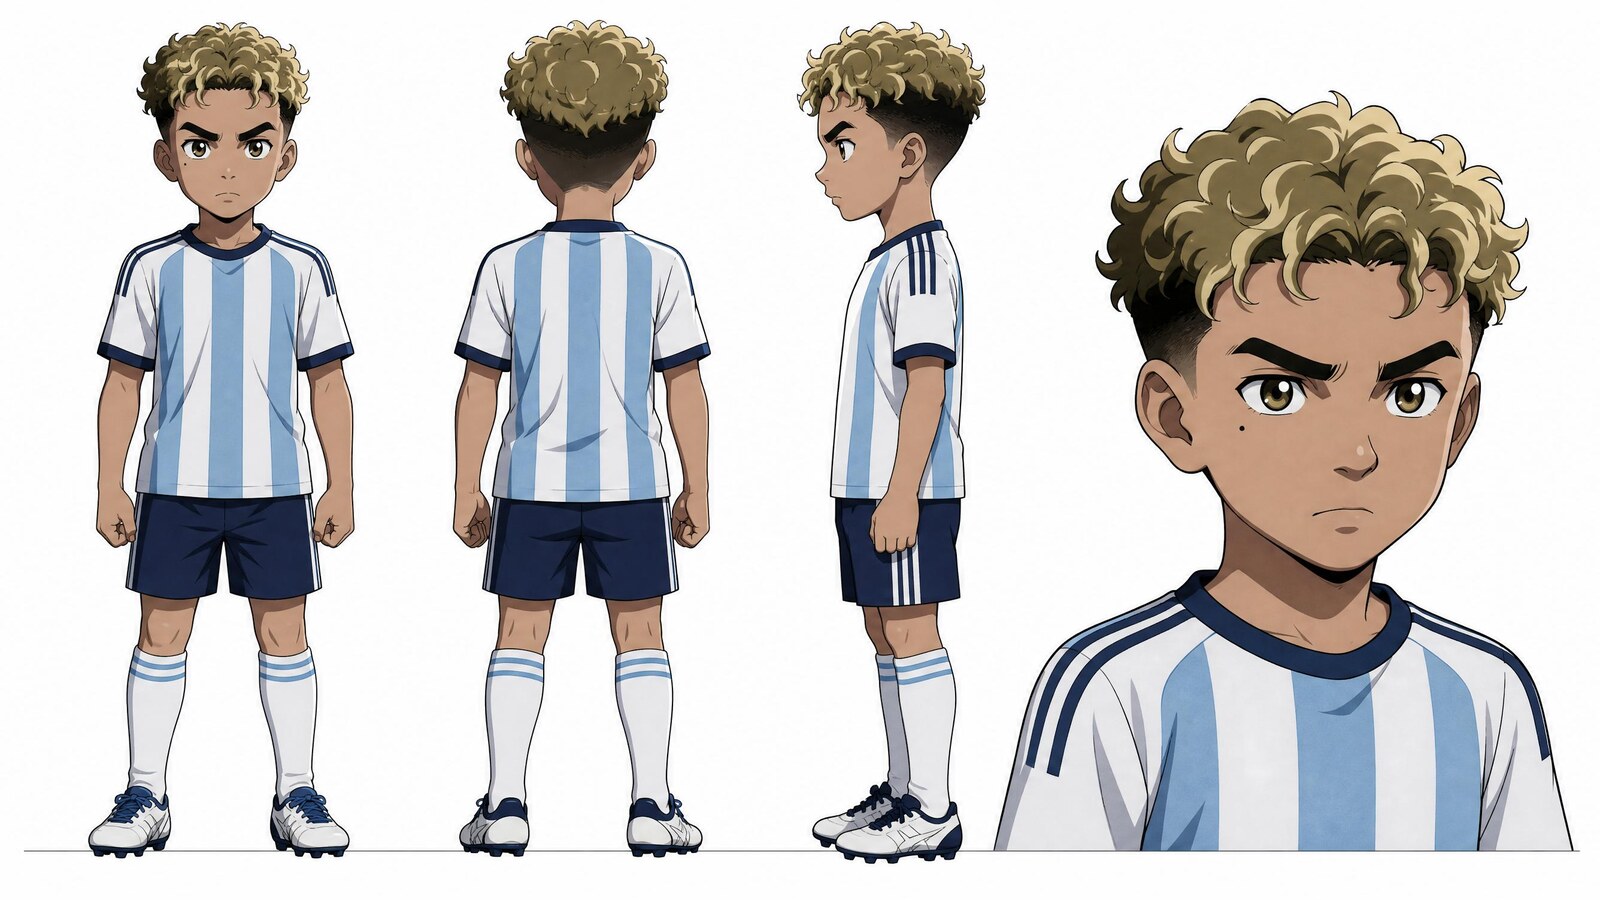
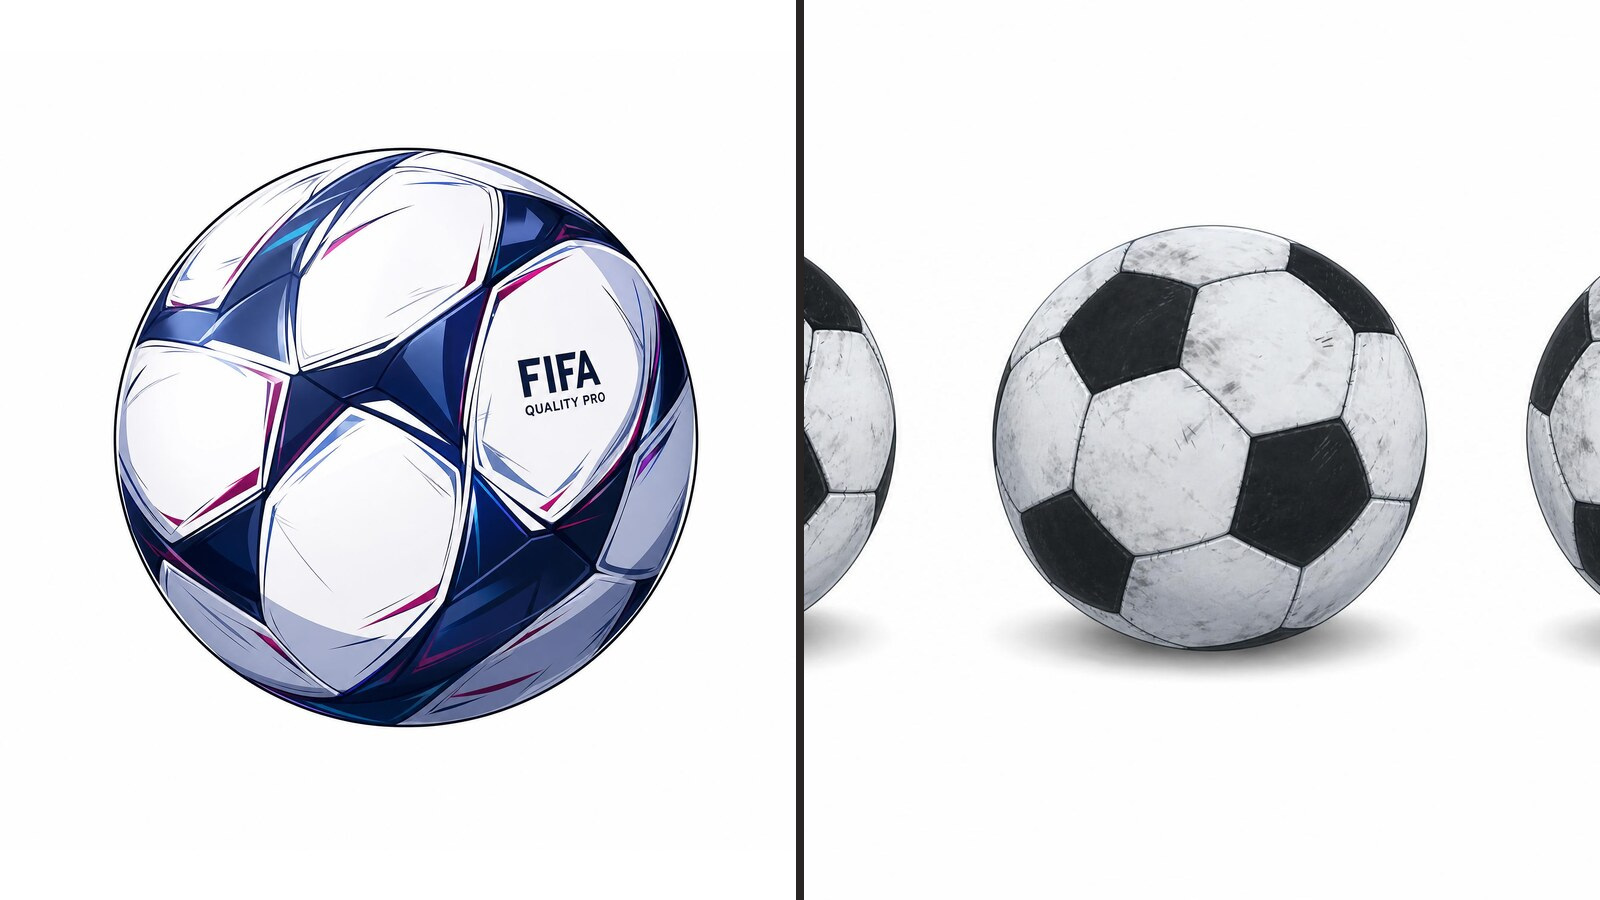
For this story, I prepared a younger version of Yamal, the match ball, and the worn childhood ball from the flashback.
Prompt: Create the Younger Character
Prompt: Create the Match Ball
Prompt: Create the Childhood Ball
At this point, your production kit is ready: script, characters, element sheets, stadium, uniforms, and props.
Part 2: Generate the Anime Clips
The goal of this stage is not to generate one perfect finished video. It is to create enough usable footage to construct the final sequence during editing.
Treat each generation like a shot or a small group of shots. Keep the cast, environment, props, camera, action, dialogue, sound, and timing in separate sections so the model does not have to guess what each reference controls.
Scene 1: Messi Dribbles and Yamal Wins the Ball
Scene 2: Yamal’s Childhood Flashback
Scene 3: Pedri Wins Possession
Scene 4: Yamal Takes the Shot
Scene 5: The Deflection and Standoff
Generate more than one version of each scene. A failed face in one take may be paired with a perfect camera move in another, and you can combine the strongest fragments during editing.
Part 3: Post-Production
Bring every generated clip into your editing software and treat it as raw footage—not as a finished scene.
Build the Sequence From the Best Moments
Split each clip into smaller shots, remove broken or inconsistent frames, and combine the strongest moments from different variations. Arrange the edit around story, pacing, continuity, and emotion.
Avoid cutting between shots with nearly identical framing. Alternating wide shots, close-ups, inserts, and reaction shots creates clearer visual rhythm.
When an important beat is missing, generate only that insert instead of recreating the entire scene. Useful inserts include:
- The ball spinning or hitting the turf
- A player’s eyes
- Boots planting or sliding
- Hands tightening
- Crowd reactions
- Flags, lights, or a scoreboard
Make the Flashback Instantly Readable
Use a subtle white flash, a warmer grade, a soft glow, or reduced crowd sound to separate the flashback from the present. One or two consistent cues are enough; too many effects can make the transition feel artificial.
Add an Original Soundtrack
Once the picture edit is stable, you can use Yapper Assistant to develop an original track for the sequence.
Mix the track around the dialogue and impact sounds rather than covering them. The quiet standoff at the end will feel more powerful if the music makes room for it.
The complete post-production loop is simple:
Generate, split, remove, rearrange, add missing inserts, and polish.
Create Your Own AI Anime
You can reuse this workflow for much more than football:
- Sports anime
- Fantasy battles
- Music videos
- Short films and trailers
- Historical stories
- Product campaigns
- Social-media series
- Vertical micro-dramas
- Character-driven episodes
Start with a simple idea, build strong references, generate several variations, and treat every output as production material rather than a finished result.
Develop the story with Yapper Assistant, build your reference kit, and turn each scene into a controllable AI video clip.